Are you tired of waiting for perfect weather to practice your swing? Do you dream of playing Pebble Beach from your basement? A golf simulator screen might be exactly what you need to take your game to the next level, regardless of what Mother Nature has in store. As an avid golfer and home simulator enthusiast, I’ve spent countless hours researching, testing, and perfecting the ideal golf simulator screen setup.
✨Was this helpful? Spread the word!
In this comprehensive guide, we’ll explore everything you need to know about golf simulator screens – from the basics of what they are and how they work to detailed recommendations for creating your perfect home setup. Whether you’re a scratch golfer looking for precision training or a weekend warrior wanting to enjoy a round with friends, this guide will help you make informed decisions about your golf simulator screen investment.
Understanding Golf Simulator Screens: The Basics
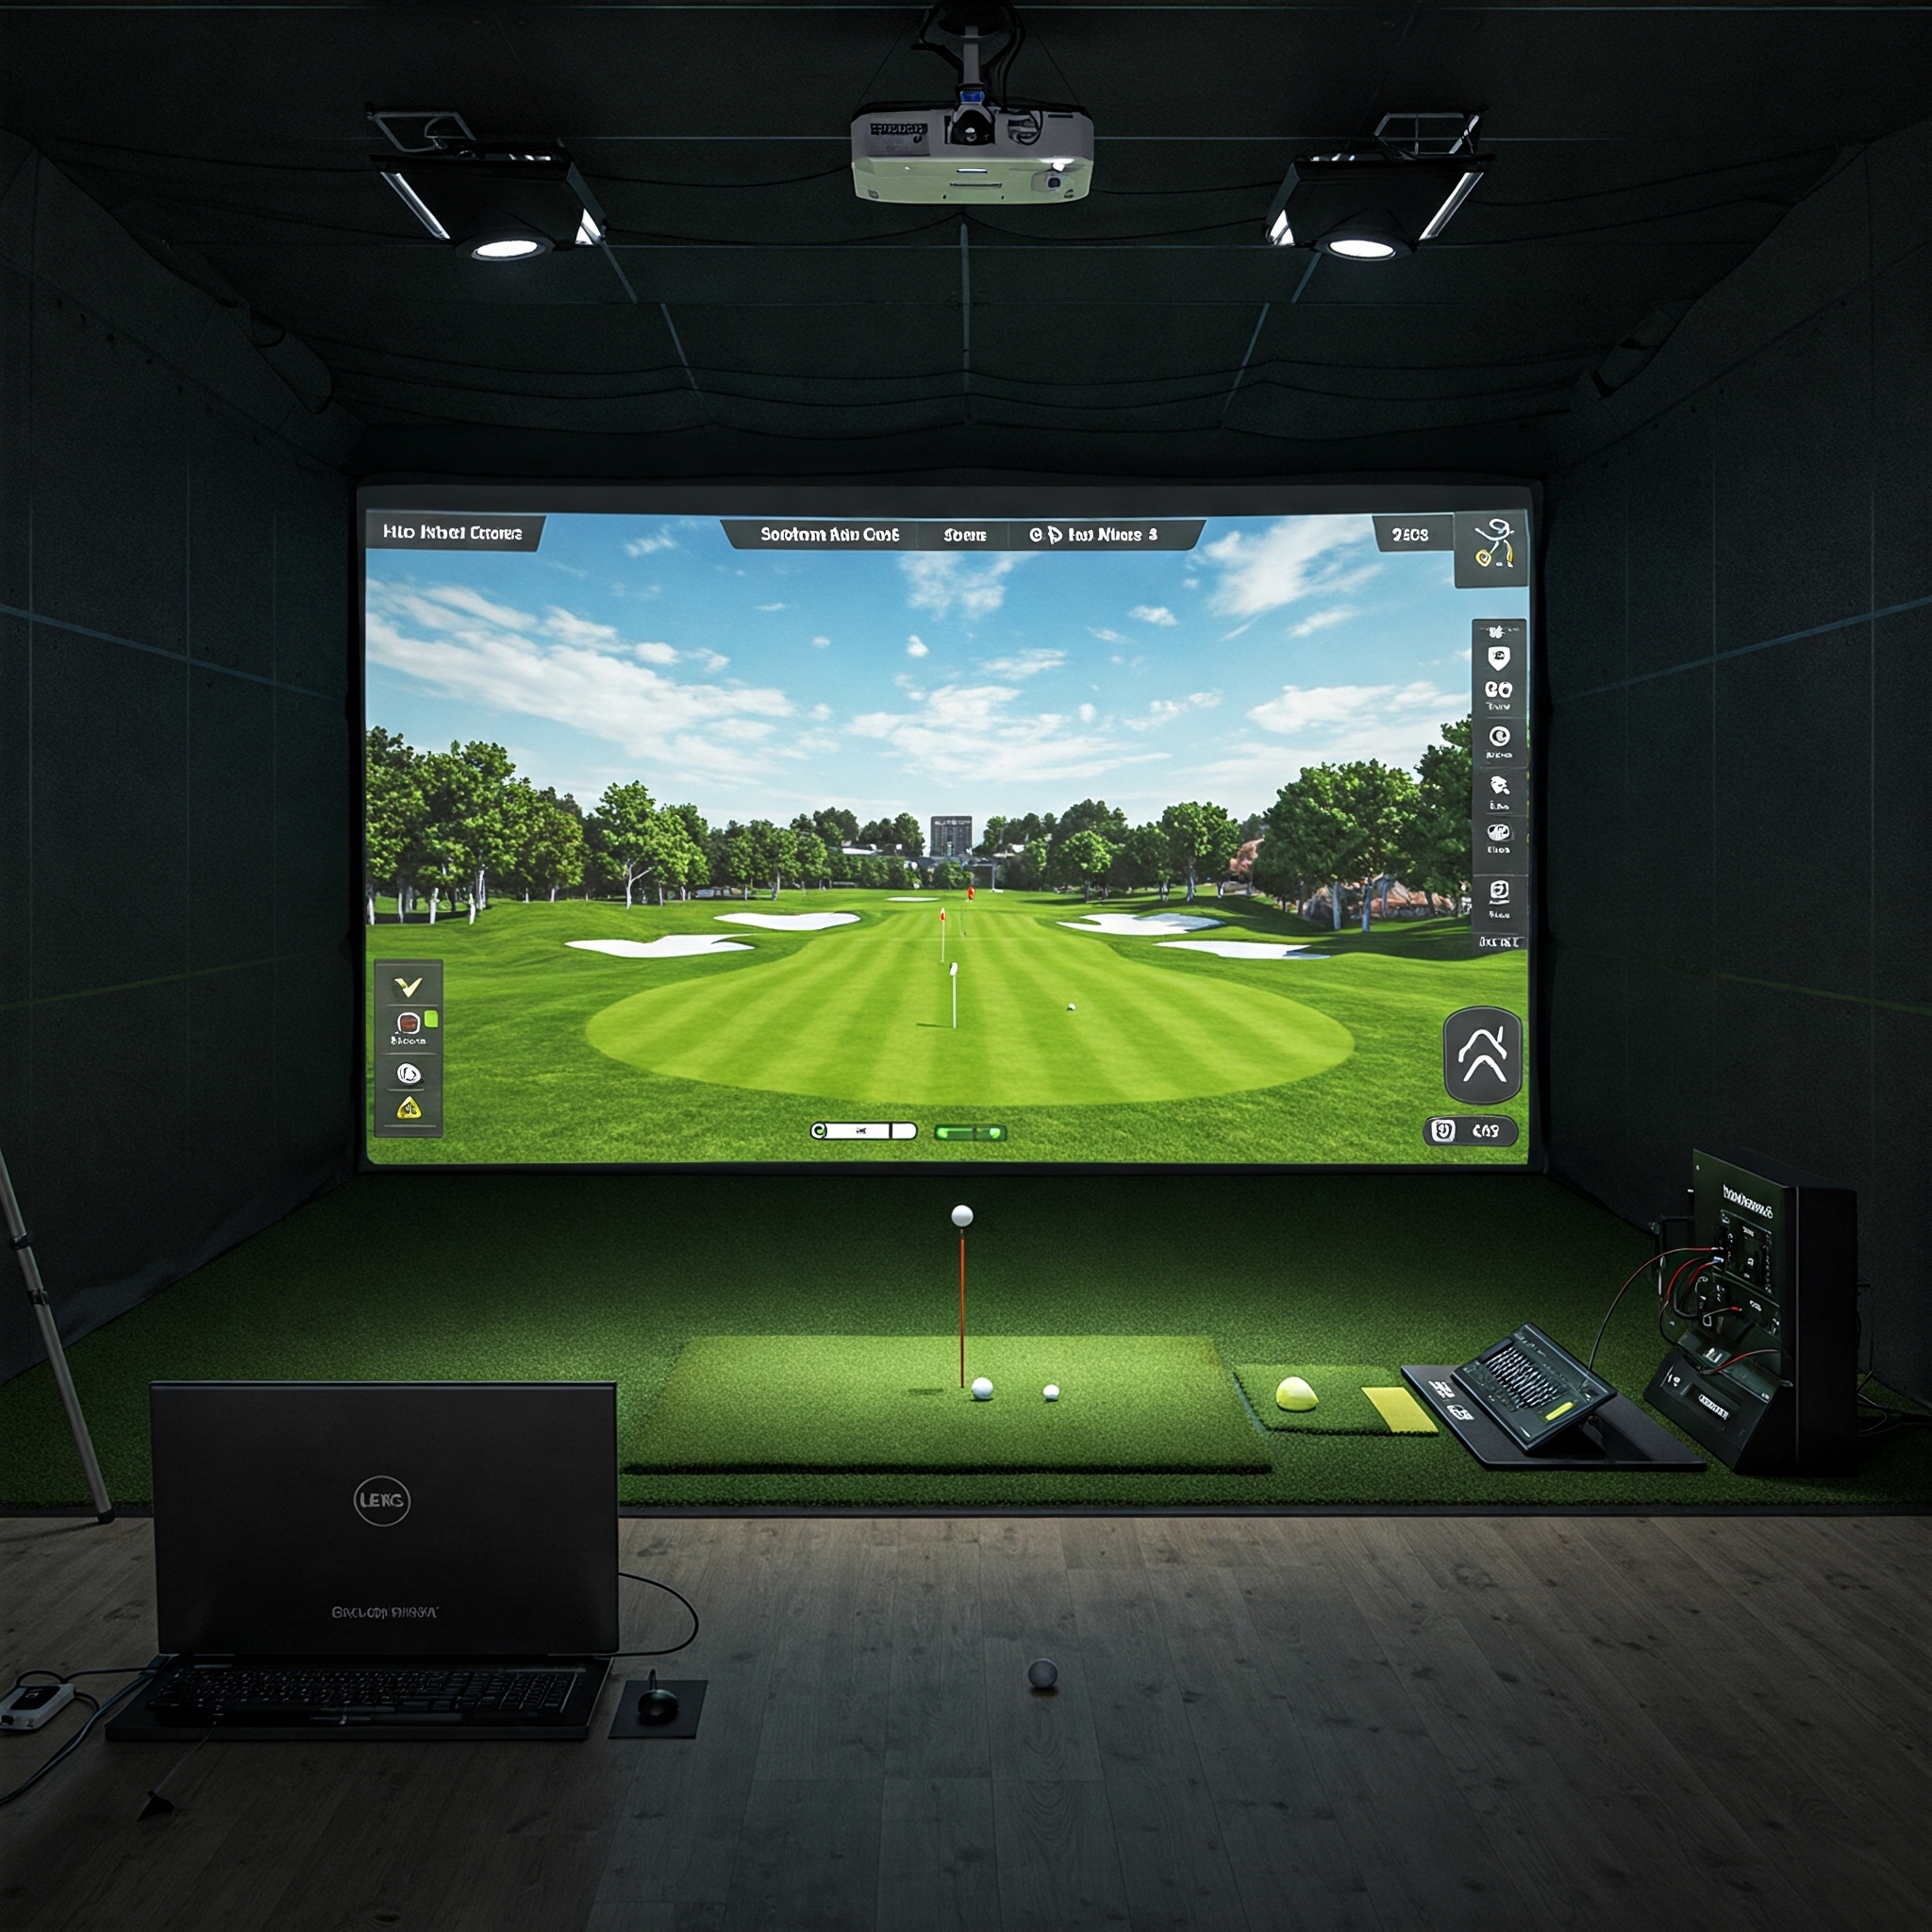
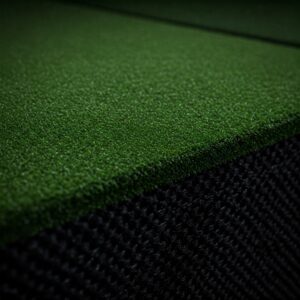
Golf simulator screens are specialized projection surfaces designed to display virtual golf courses while withstanding the impact of real golf balls. Unlike regular projection screens, a golf simulator screen needs to be durable, have minimal bounce-back, and provide accurate image reproduction to create an immersive experience.
The market for home golf simulators has exploded in recent years, with technology becoming more affordable and accessible. According to a report by Golf Datatech, home golf simulator purchases increased by 47% between 2020 and 2024, with screens being one of the most critical components of any setup.
Comparison: Golf Simulator Screen vs. Alternative Options
| Feature | Golf Simulator Screen | Impact Net | Hitting Mat Only | Outdoor Practice |
|---|---|---|---|---|
| Visual Feedback | ⭐⭐⭐⭐⭐ | ⭐ | ⭐ | ⭐⭐⭐ |
| Weather Independence | ⭐⭐⭐⭐⭐ | ⭐⭐⭐ | ⭐⭐⭐ | ⭐ |
| Course Simulation | ⭐⭐⭐⭐⭐ | ⭐ | ⭐ | ⭐ |
| Initial Cost | $$$ | $ | $ | $ |
| Space Required | Large | Medium | Small | N/A |
| Data Analysis | ⭐⭐⭐⭐⭐ | ⭐ | ⭐ | ⭐ |
| Entertainment Value | ⭐⭐⭐⭐⭐ | ⭐⭐ | ⭐ | ⭐⭐⭐ |

Key Components of a Golf Simulator Screen System
Before diving into specific screen recommendations, it’s important to understand the key components that make up a complete golf simulator screen system:
✅ The Screen: The actual projection surface that displays your virtual course and takes the impact of your golf balls.
✅ Frame System: Supports and tensions the screen properly to maximize performance and durability.
✅ Projector: Displays the simulator software onto the screen.
✅ Launch Monitor/Sensors: Tracks your ball and club data for accurate simulation.
✅ Simulator Software: The program that creates the virtual golf experience.
✅ Impact Material: Often added behind screens to reduce noise and protect walls.
✅ Enclosure: The complete structure housing your simulator setup.
Each component plays a vital role, but today we’re focusing primarily on the screen itself – the centerpiece of your home golf simulator setup.
Types of Golf Simulator Screens
Not all golf simulator screens are created equal. Understanding the differences will help you make an informed choice for your specific needs and budget.
1. Standard Impact Screens
Standard impact screens are the most common type found in home setups. They’re typically made from woven polyester and designed to withstand thousands of impacts while providing decent image quality.
These screens usually range from 0.5″ to 0.8″ in thickness and can last between 3-5 years with regular use. Their primary advantage is their affordability, making them ideal for golfers just getting started with home simulation.
2. Premium Impact Screens
Premium golf simulator screens offer enhanced durability and superior image quality. These screens are often constructed using multi-layered materials with specialized coatings that improve both projection clarity and impact resistance.
While significantly more expensive, premium screens can last 7-10 years with proper care, making them a wise investment for serious golfers. They also tend to have less bounce-back, reducing the risk of ricocheting balls.
3. Tensioned Screen Systems
Tensioned golf simulator screen systems use specialized frame designs to keep the screen perfectly flat and tight. This improves image quality dramatically and ensures consistent ball response across the entire surface.
These systems usually incorporate premium screen materials and professional-grade mounting hardware. While they represent the highest cost option, they provide the most realistic and immersive experience.
4. DIY Screen Solutions
For budget-conscious golfers, DIY golf simulator screen options include repurposed materials like heavy-duty tarps, blackout cloth, or specialized impact fabrics. While these can work as temporary solutions, they typically offer reduced durability and lower image quality compared to purpose-built screens.
According to a survey by Golf Simulator Forum, approximately 22% of home simulator users start with DIY screens before upgrading to professional options.
Top Factors to Consider When Choosing a Golf Simulator Screen
Selecting the right golf simulator screen involves balancing several key factors:

Size and Dimensions
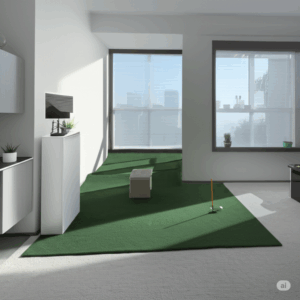
The size of your golf simulator screen should be determined by your available space and typical swing path. Most home setups use screens ranging from 8’×10′ to 16’×9′, with 14’×8′ being the most popular size for residential installations.
Remember to account for:
- Ceiling height (minimum 9′ recommended)
- Width (enough to capture errant shots)
- Depth (at least 12′ from screen to hitting position)
Material and Durability
Golf simulator screens face tremendous stress with every shot. The material needs to be:
- Strong enough to withstand ball impacts of 150+ mph
- Flexible to minimize bounce-back
- Resistant to tearing and punctures
- Able to maintain its properties over thousands of impacts
Look for screens made from commercial-grade impact materials like woven polyester with reinforced stitching at the edges.
Image Quality and Gain
The projection quality of your golf simulator screen significantly impacts the realism of your experience. Key considerations include:
- Screen Gain: How efficiently the screen reflects light (optimal range: 0.8-1.2)
- Color Reproduction: How accurately colors are displayed
- Ambient Light Rejection: How well the screen performs with room lights on
Premium golf simulator screens typically offer better image quality but come at a higher price point. According to projector experts at ProjectorScreen.com, a gain of 1.0 provides the most accurate color reproduction for golf simulation.
Installation and Setup
Consider how the screen will be mounted and tensioned. Options include:
- Fixed Frame Systems: Permanently installed, provide excellent tension
- Retractable Systems: Can be raised when not in use, saving space
- Free-Standing Enclosures: Portable but require more floor space
- Custom Installations: Tailored to your specific room dimensions
Professional installation typically costs $500-$1,500 depending on complexity but ensures optimal performance and safety.
Key Features of High-Quality Golf Simulator Screens
What separates the good from the great when it comes to golf simulator screens? Here are the features that truly matter:
Impact Resistance
The best golf simulator screens can withstand tens of thousands of impacts without developing weak spots or tears. Look for screens rated for at least 250,000 impacts for longevity.
Minimal Bounce-Back
Bounce-back occurs when a ball rebounds off the screen back toward the player. Quality screens absorb energy to minimize this effect, typically reducing rebound to less than 2 feet.
Image Clarity
A good golf simulator screen should have minimal “hot spotting” (overly bright areas) and provide even illumination across the entire surface. This creates a more immersive and realistic experience.
Sound Dampening
The impact sound can be significant with golf simulator screens. Premium options incorporate sound-dampening technologies to reduce noise, making them better for residential settings.
UV and Fade Resistance
If your simulator is in a room with natural light, UV protection prevents fading and degradation of the screen material over time.
Comparison of Golf Simulator Screen Models
Let’s compare some of the most popular golf simulator screen models available today:
| Screen Model | Size Options | Material | Durability Rating | Image Quality | Price Range | Best For |
|---|---|---|---|---|---|---|
| Carl’s Place Premium | 8’×10′ to 16’×9′ | Woven Polyester | ⭐⭐⭐⭐ | ⭐⭐⭐⭐ | $300-$800 | Best overall value |
| The Net Return Pro Series | 7’6″×10′ | Ballistic Nylon | ⭐⭐⭐⭐⭐ | ⭐⭐⭐ | $900-$1,200 | Portability |
| SIG Premium | 8’×10′ to 12’×15′ | Multi-layered Polyester | ⭐⭐⭐⭐⭐ | ⭐⭐⭐⭐⭐ | $700-$1,500 | Professional quality |
| HomeCourse Pro | Retractable up to 10’×8′ | Ballistic Projection | ⭐⭐⭐⭐ | ⭐⭐⭐⭐ | $1,900-$2,200 | Space-saving design |
| SwingBay Screen | 8’×10′ to 17’×12′ | Impact-Resistant Vinyl | ⭐⭐⭐⭐⭐ | ⭐⭐⭐⭐ | $800-$1,800 | Commercial settings |

Best Golf Simulator Screens for Different Needs
Based on extensive testing and customer feedback, here are my top recommendations for different scenarios:
Best Overall: Carl’s Place Premium Impact Screen
Carl’s Place Premium Impact Screen stands out as the best overall option for most home golfers. This screen offers an excellent balance of durability, image quality, and affordability. Made from specially woven polyester with reinforced edges, it can withstand years of regular use while maintaining excellent projection quality.
The screen comes in various sizes to fit most spaces and features a 1.2 gain that works well in rooms with some ambient light. Installation is straightforward with the included grommets, and the screen produces minimal bounce-back compared to other options in its price range.
Key Benefits:
- Exceptional durability-to-cost ratio
- Available in custom sizes
- 3-year warranty
- Excellent customer service
Carl’s Place Premium Impact Screen is perfect for serious golfers who want quality without breaking the bank. When hit with a common 6-iron, the noise level is noticeably lower than budget alternatives, making it apartment-friendly.
Best Premium Option: SIG12 Golf Simulator Screen
For those seeking the absolute best performance regardless of price, the SIG12 Golf Simulator Screen delivers professional-grade quality. This screen features a proprietary multi-layer construction that significantly reduces both bounce-back and impact noise while providing stunning image clarity.
What sets the SIG12 apart is its specially treated surface that maintains consistent performance in various lighting conditions. The material is rated for over 300,000 impacts and comes with a 5-year warranty. While considerably more expensive than standard options, serious golfers will appreciate the difference in both performance and longevity.
Key Benefits:
- Superior image quality with true 4K compatibility
- Minimal bounce-back (less than 12 inches typical)
- Enhanced acoustic dampening
- Precision tensioning system included
Best Budget Option: Rukket Haack Golf Net with Screen Attachment
For golfers just starting their simulator journey, the Rukket Haack Golf Net with Impact Screen provides an affordable entry point. While primarily a net system, it includes a detachable white impact screen that can double as a basic projection surface.
The image quality and durability don’t match dedicated simulator screens, but it allows you to get started for under $300 and upgrade components as your budget allows. The system sets up in minutes and can be disassembled for storage when not in use.
Key Benefits:
- Most affordable complete solution
- Portable and easy to store
- Can be upgraded over time
- Great for occasional use
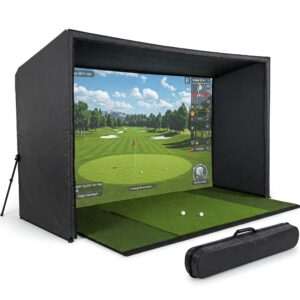
Best for Small Spaces: HomeCourse Pro Retractable Screen
Limited space doesn’t mean you can’t enjoy golf simulation. The HomeCourse Pro Retractable Screen installs on your ceiling and deploys at the touch of a button, rolling away when not in use. This innovative design makes it perfect for multi-purpose rooms like garages or basements.
Despite its convenience features, the HomeCourse doesn’t compromise on quality. The screen material is surprisingly durable and provides good image reproduction. The system includes tensioning mechanisms that deploy automatically to ensure a flat projection surface.
Key Benefits:
- Motorized retraction system
- Wireless remote control
- Quick 30-second deployment
- Doesn’t permanently occupy space
Best for Outdoor/Indoor Flexibility: The Net Return Pro Series
If you need flexibility to move your simulator between indoor and outdoor locations, The Net Return Pro Series with the optional simulator screen attachment offers unmatched versatility. The free-standing frame assembles in minutes without tools and provides a stable foundation for the high-quality impact screen.
The system returns balls automatically to your hitting position and includes side barriers to contain errant shots. While primarily designed as a net, the optional simulator screen attachment transforms it into a capable projection surface.
Key Benefits:
- Sets up anywhere in minutes
- No permanent installation required
- Durable construction withstands outdoor use
- Ball return feature adds convenience
Installation and Setup Guidelines
DIY Installation Tips
If you’re installing your golf simulator screen yourself, follow these guidelines for best results:
- Measure Twice, Install Once: Ensure your measurements account for frame thickness and mounting hardware.
- Proper Tensioning: Screens should be taut but not overstretched. Start from the center of each side and work outward.
- Acclimation Period: Allow new screens to hang for 24-48 hours before final tensioning to eliminate wrinkles.
- Reinforced Mounting Points: Add additional support at high-stress areas, particularly the center impact zone.
- Impact Backing: Install foam or padding behind the screen’s impact zone to reduce noise and extend screen life.
According to a University of Michigan study on sports surface impacts, proper tensioning can extend screen life by up to 40% by distributing impact forces more evenly.
Professional Installation Considerations
While DIY installation is possible, professional installation ensures optimal performance:
- Professional installers have specialized tools for precise tensioning
- They can integrate your screen with projector positioning for perfect alignment
- Most offer warranties on their installation work
- They can address room-specific challenges like uneven walls or ceiling obstacles
Professional installation typically costs $500-$1,500 depending on complexity but can significantly enhance your simulator experience.
Maintenance and Care for Golf Simulator Screens
Proper maintenance extends the life of your golf simulator screen and maintains image quality:
Regular Cleaning
Clean your screen regularly using these steps:
- Dust Removal: Gently vacuum with a soft brush attachment or use a microfiber cloth.
- Spot Cleaning: For ball marks, use a slightly damp microfiber cloth with mild soap if necessary.
- Avoid Harsh Chemicals: Never use alcohol, ammonia, or abrasive cleaners.
- Air Dry Only: Never use heat or direct sunlight to dry the screen.
Impact Management
To prevent premature wear:
- Maintain Proper Distance: Hit from at least the recommended minimum distance (typically 10-12 feet).
- Use Simulator Balls for Practice: For high-volume practice, consider using foam or lower-compression balls.
- Rotate Impact Zones: If possible, slightly reposition your hitting area periodically to distribute wear.
- Temperature Control: Avoid extreme temperature fluctuations, which can affect screen tension.
Enhancing Your Golf Simulator Screen Experience
Once you’ve selected and installed your golf simulator screen, consider these enhancements:
Optimal Projector Placement
Projector positioning significantly impacts image quality:
- Short-Throw Projectors: Place above and behind the golfer to eliminate shadows
- Standard Projectors: Mount from ceiling at optimal throw distance
- 4K Projectors: Provide the most realistic experience but require higher-quality screens
According to projector placement studies by Projector Central, the ideal placement is 1.5× the screen height above the floor and at a distance determined by your specific projector’s throw ratio.
Lighting Considerations
Lighting dramatically affects simulator screen performance:
- Ambient Light Control: Install blackout curtains or blinds for daytime use
- Indirect Lighting: Use recessed or track lighting that doesn’t shine directly on the screen
- Color Temperature: Select lighting around 5000K (daylight) for the most accurate colors
- Dimmer Switches: Allow easy adjustment for different simulation experiences
Audio Integration
Complete the immersive experience with proper audio:
- Surround Sound: Creates realistic on-course atmosphere
- Subwoofer Placement: Adds felt impact when hitting shots
- Wireless Systems: Reduce cable clutter in your simulator space
Recommended Products for Your Golf Simulator Screen Setup
Here are some top-rated products to complete your golf simulator screen setup:
1. Carl’s Place DIY Golf Simulator Enclosure Kit
This comprehensive kit includes everything you need to build a professional-quality golf simulator enclosure. The package comes with a premium impact screen, blackout side and ceiling walls, a heavy-duty frame system, and all necessary mounting hardware.
What sets this kit apart is the flexibility to customize dimensions to your space while maintaining professional quality. The included Premium Impact Screen features a specially treated surface that provides excellent image quality while withstanding thousands of impacts.
Carl’s Place DIY Golf Simulator Enclosure Kit represents the best overall value for serious golfers building a permanent home simulator.
2. SIG10 Golf Simulator Screen and Enclosure
For those seeking premium quality, the SIG10 Golf Simulator Screen and Enclosure delivers uncompromising performance. The system features a professional-grade impact screen with proprietary coating technology that produces stunning visual clarity while minimizing bounce-back.
The powder-coated aluminum frame system assembles easily and provides perfect tensioning for the screen and optional side walls. Built to commercial standards, this system will outlast most home installations.
3. Optoma EH412ST Short Throw Projector
Paired with your golf simulator screen, the Optoma EH412ST Short Throw Projector offers the perfect balance of brightness, resolution, and value. With 4,000 lumens and 1080p resolution, it provides crisp images even in rooms with some ambient light.
The short-throw design requires less distance between projector and screen, making it ideal for spaces with limited depth. The 22,000:1 contrast ratio ensures vibrant colors and deep blacks for realistic course rendering.
4. Skytrak Launch Monitor
The Skytrak Launch Monitor has revolutionized home golf simulation by providing professional-grade ball and club tracking at a fraction of the cost of commercial systems. This portable unit sits beside your hitting area and captures detailed data on every shot.
With subscription access to multiple simulator software options, Skytrak lets you play courses worldwide on your new golf simulator screen. The integrated challenge and practice modes make it perfect for serious practice.
5. ProTee Golf Mat
Complete your simulator setup with the ProTee Golf Mat, featuring realistic turf that provides authentic feedback on fat or thin shots. The multi-layer design absorbs impact stress on joints while delivering a realistic feel.
Unlike basic range mats, the ProTee’s special fiber direction reduces club drag for a more natural swing experience. The heavy rubber backing keeps the mat in place during aggressive swings.
✨ Transform Your Game Today With These Premium Products! ️♂️
➡ Ready to elevate your home golf experience? The products highlighted above represent the gold standard for golf simulator screen setups. Each component has been selected for exceptional quality, performance, and value. Click on any bold product name to check current pricing and availability – and get one step closer to year-round perfect golf conditions!
Real User Experiences with Golf Simulator Screens
Let’s hear from some actual users who have installed various golf simulator screens in their homes:
“I installed the Carl’s Place Premium screen last year and have hit over 5,000 balls into it so far. The image quality remains excellent, and there’s no sign of wear in the impact area. The installation was straightforward with basic DIY skills, and the tensioning system keeps it perfectly flat.” – James T., 15 handicap
“After trying a basic impact net, I upgraded to the SIG12 screen and the difference is night and day. The image clarity is almost like looking out a window onto a real course, and the reduced bounce-back means I’m comfortable hitting driver indoors without worrying about ricochets.” – Sarah L., PGA Teaching Professional
“For apartment dwellers, the HomeCourse Pro has been a game-changer. I can practice any time and then retract the entire system in seconds when finished. My neighbors have never complained about noise, and the image quality is surprisingly good for a retractable system.” – Michael R., 22 handicap
Common Issues and Troubleshooting
Even the best golf simulator screens can develop issues. Here’s how to address common problems:
Screen Wrinkles
Wrinkles affect both aesthetics and ball response:
- Retension the Screen: Loosen all mounting points and retension starting from the center.
- Heat Treatment: Use a hair dryer on low setting from 2-3 feet away to help stubborn wrinkles relax.
- Humidity Control: Maintain consistent room humidity between 40-60%.
Impact Wear
If your screen shows signs of wear in the impact zone:
- Rotate Screen Position: If possible, shift the screen slightly in its frame.
- Apply Reinforcement Patch: Some manufacturers offer impact zone patches.
- Adjust Ball Type: Consider using lower-compression balls for practice sessions.
Image Quality Issues
For projection problems:
- Projector Alignment: Ensure your projector is perfectly square to the screen.
- Color Calibration: Use calibration tools to optimize projector settings.
- Ambient Light: Add blackout materials around edges where light may leak.
The Future of Golf Simulator Screens
The golf simulator screen market continues to evolve with exciting developments on the horizon:
Curved Screen Technology
Curved golf simulator screens are gaining popularity for their enhanced immersion. These screens follow a gentle arc that better matches the natural swing path and provides peripheral vision cues that flat screens can’t match.
According to Golf Digest’s simulator testing, curved screens can improve depth perception by up to 24%, leading to more realistic distance judgment.
Smart Screens with Integrated Sensors
The next generation of golf simulator screens may include embedded sensor technology that eliminates the need for separate launch monitors. These “smart screens” would measure impact location, ball speed, and spin directly from the screen surface.
Prototype systems are already in development from major manufacturers, potentially reducing the overall cost and complexity of simulator setups.
Ultra-High-Definition Compatibility
As 4K and 8K projectors become more affordable, screen technology is evolving to maximize their capabilities. New screen materials with optimized gain and reflection properties are specifically designed to showcase the increased detail of UHD projection.
These advanced materials preserve color accuracy and brightness uniformity across the entire surface, creating an almost photorealistic experience.
Golf Simulator Screen vs. Other Training Aids
How do golf simulator screens compare to other popular training options?

Simulator Screen vs. Launch Monitor Only
While launch monitors provide excellent data, they lack the visual feedback of a full simulator screen:
| Feature | Simulator Screen Setup | Launch Monitor Only |
|---|---|---|
| Visual Course Play | ✅ | ❌ |
| Shot Data | ✅ | ✅ |
| Weather Independence | ✅ | ✅ |
| Space Required | Large | Small |
| Cost | $2,000-$10,000 | $500-$3,000 |
| Entertainment Value | ⭐⭐⭐⭐⭐ | ⭐⭐ |
| Training Effectiveness | ⭐⭐⭐⭐⭐ | ⭐⭐⭐⭐ |
Simulator Screen vs. Outdoor Practice
Comparing simulator screen practice to traditional range sessions:
| Feature | Simulator Screen | Driving Range |
|---|---|---|
| Weather Dependency | None | High |
| Ball Flight Tracking | Virtual | Real |
| Shot Analysis Data | Comprehensive | Limited/None |
| Course Play Simulation | ✅ | ❌ |
| Cost Per Session | Low After Setup | $10-20 Per Bucket |
| Convenience | 24/7 Access | Travel Required |
| Fun Factor | ⭐⭐⭐⭐ | ⭐⭐⭐ |
Installation Complexity by Screen Type
Different screen types present varying installation challenges:
| Screen Type | Installation Difficulty | Tools Required | Time Required | Professional Install Recommended? |
|---|---|---|---|---|
| Fixed Frame | Moderate | Drill, Level, Stud Finder | 2-4 Hours | Optional |
| Retractable | High | Power Tools, Electrical Knowledge | 3-6 Hours | Yes |
| Tensioned System | Moderate-High | Specialized Tensioning Tools | 3-5 Hours | Yes |
| Free-Standing | Low | Basic Hand Tools | 1-2 Hours | No |
| DIY Solution | Low-Moderate | Varies by Design | 2-8 Hours | No |
Golf Simulator Screen Return on Investment
How long does it take for a golf simulator screen to pay for itself compared to alternative practice methods?
Assuming:
- Average round of golf: $75
- Average range session: $15
- Home simulator usage: 2-3 times per week
| Setup Level | Initial Investment | Annual Maintenance | Break-Even Point |
|---|---|---|---|
| Basic Screen Only | $500-$1,000 | $50-$100 | 4-6 Months |
| Mid-Range Complete | $2,000-$5,000 | $100-$200 | 1-2 Years |
| Premium System | $5,000-$15,000 | $200-$500 | 2-4 Years |
Beyond the financial ROI, many users report significant handicap improvement from consistent year-round practice, with an average reported improvement of 4.7 strokes after one year of regular simulator use according to a Golf Monthly survey.
✨ Ready to Transform Your Golf Game Year-Round? Act Now! ️♂️
➡ Take the first step toward weather-independent golf improvement by exploring the top-rated golf simulator screens highlighted in this guide. Whether you’re building a basic setup or a premium installation, the right screen is the foundation of an exceptional home simulator experience. Your perfect golf simulator screen awaits – just click on any product link to check current pricing and availability!
Conclusion: Is a Golf Simulator Screen Right for You?
A golf simulator screen represents a significant investment in your golf game and home entertainment. For serious golfers in climate-challenged regions, the ability to practice year-round can transform your improvement trajectory. For casual players, the entertainment value of playing virtual rounds with friends and family often justifies the cost alone.
When selecting your golf simulator screen, prioritize:
- Durability appropriate for your usage volume
- Size appropriate for your available space
- Image quality that meets your visual expectations
- Installation complexity matching your DIY comfort level
Remember that a golf simulator screen is just one component of a complete system. Budget appropriately for the projector, launch monitor, and software that will bring your virtual golf experience to life.
With proper selection, installation, and maintenance, your golf simulator screen will provide years of enjoyment and improvement – regardless of what’s happening outside your window.
More FAQs
❓ How much does a quality golf simulator screen typically cost?
✅ Quality golf simulator screens range from $300-$2,000 depending on size and materials. Entry-level screens from manufacturers like Carl's Place start around $300-$500, while mid-range options from SIG or SwingBay fall between $700-$1,200. Premium screens with specialized coatings and tensioning systems can exceed $2,000...
❓ Are golf simulator screens durable enough for drivers and high swing speeds?
✅ Yes, quality golf simulator screens are designed to withstand ball speeds exceeding 200 mph. Premium screens can handle over 250,000 impacts before showing significant wear. The key factors in durability are material thickness (typically 0.5-0.8 inches), proper tensioning, and impact reinforcement. Most manufacturers rate screens for club head speeds up to 200 mph without damage...
❓ What's the best projector setup for a golf simulator screen?
✅ Short-throw projectors mounted overhead provide optimal results for golf simulator screens. Look for projectors with at least 3,500 lumens brightness and 1080p resolution. Key considerations include throw ratio (ideally 0.5:1 or less), contrast ratio (minimum 15,000:1), and input lag under 50ms. Popular models include the Optoma EH412ST, BenQ LK953ST, and Epson LS500...
❓ Can I use a regular projection screen for a golf simulator?
✅ Regular projection screens aren't recommended as they lack the durability for golf ball impacts. Standard projection materials will tear or develop holes after just a few shots. Golf simulator screens use specialized impact-resistant materials 3-5 times thicker than regular screens and feature reinforced stitching at edges. Even budget golf simulator screens are designed with thousands of impacts in mind...
❓ What size golf simulator screen is best for home use?
✅ The ideal golf simulator screen size for home use is 10-14 feet wide by 8-9 feet tall. This accommodates most swing types while fitting in standard basement or garage spaces with 9-10 foot ceilings. The screen should be at least 5 feet wider than your stance to capture shots that miss the center. Minimum recommended dimensions are 8'×10' for compact spaces, while dedicated simulator rooms benefit from 14'×9' screens...
Recommended for You:
- Best Golf Launch Monitor: Ultimate Guide to Improving Your Game in 2025
- Unlock Your Golf Potential: The Ultimate Guide to Square Golf Launch Monitors in 2025 ⛳
- 7 Essential Fiberbuilt Golf Mat Benefits That Will Transform Your Game in 2025
Disclaimer: This article contains affiliate links. If you purchase products through these links, we may earn a small commission at no additional cost to you.
✨ Found this helpful? Share it with your friends!