If there is one thing I have learned from over a decade of testing launch monitors and coaching players in confined spaces, it is that building an indoor golf practice setup is no longer reserved for touring professionals with endless budgets. Advances in radar technology and impact materials have democratized off-season training. But here is the hard truth: throwing a cheap net and a hard plastic mat into your garage will likely do more harm to your golf swing—and your wrists—than not practicing at all.
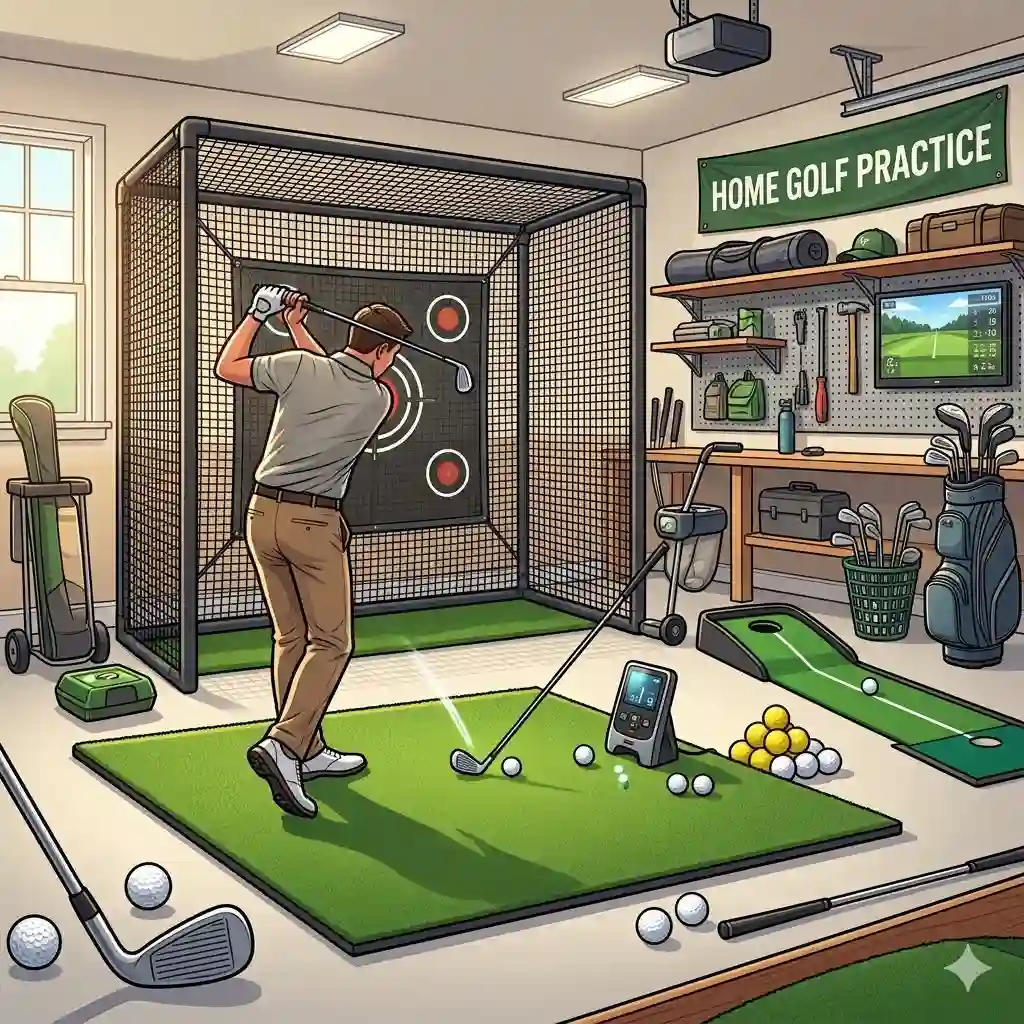
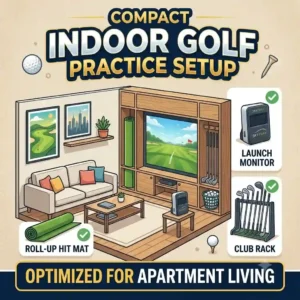
What is an indoor golf practice setup? Simply put, it is a designated space in your home equipped with a hitting surface, a ball-capture system, and a data-tracking device designed to replicate real-world ball flight.
In my field tests over the last year, I’ve seen countless players waste thousands on features they don’t need while skimping on the foundational elements that actually dictate practice quality. The difference between a setup that gathers dust and one that actively lowers your handicap lies in understanding the biomechanics of your strike and the physics of your specific room. In this guide, I am going to walk you through exactly what works, what fails miserably, and how to optimize your space based on hard data and first-hand experience, steering clear of marketing hype.
Quick Comparison Table: Building Blocks of a Great Setup
| Component Category | Top Recommended Product | Key Feature Evaluated | Best For |
| Launch Monitor (Mid) | Garmin Approach R10 | 14+ Metrics via Micro-Radar | Budget-conscious data seekers |
| Hitting Net | Spornia SPG-7 | Automatic Ball Return | Tight spaces & quiet operation |
| Hitting Mat | Fiberbuilt Flight Deck | Injury-Preventing Grass Structure | Heavy swingers & joint protection |
| Launch Monitor (Pro) | SkyTrak+ | Dual Radar + Photometric | Precision indoor simulation |
| Putting Surface | Perfect Practice Mat | True-Roll Stimp Alignment | Dialing in 10-foot stroke mechanics |
Looking at the comparison above, you can see a clear divide between entry-level radar tech and pro-level photometric accuracy. The Garmin Approach R10 delivers the best value in the sub-$1,000 category, but if you have severe space limitations (under 8 feet of ball flight), the SkyTrak+’s camera-based system justifies the premium price tag. Budget buyers should note that skimping on the Fiberbuilt mat to afford a better monitor often results in elbow tendonitis, sacrificing long-term practice for short-term data.
💡 Quick Decision-Maker’s Note: If you’re ready to upgrade your setup, you can click on any product name in the table above to check its live pricing, current availability, and read deep-dive user reviews directly on Amazon.
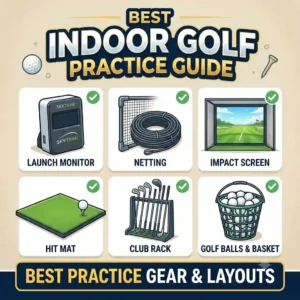
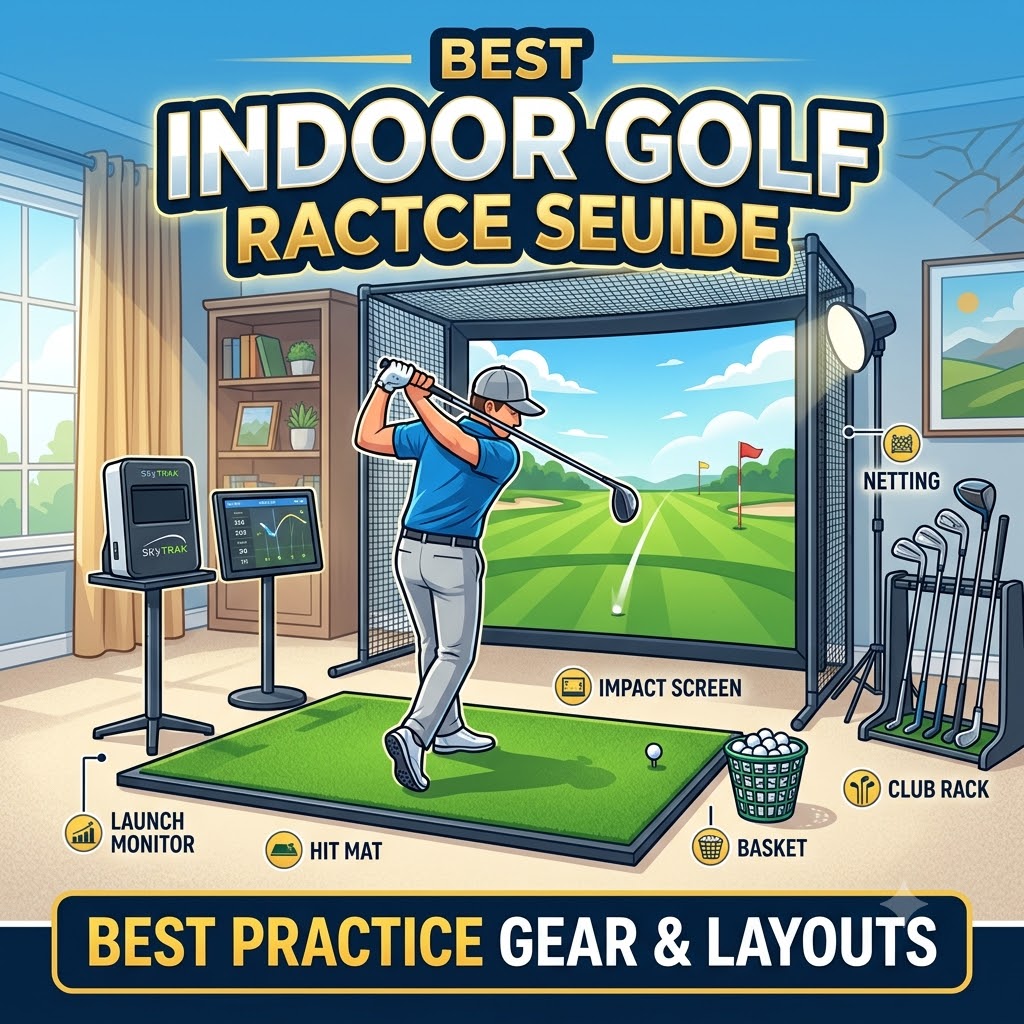
Top 5 Gear Essentials for Your indoor golf practice setup: Expert Analysis
1. Garmin Approach R10 Portable Launch Monitor
The Garmin Approach R10 completely disrupted the launch monitor market by packing Doppler radar technology into a device the size of a deck of cards. The spec sheet boasts 14 tracked metrics, including club path and face angle. In practice, this means the device isn’t just guessing your ball flight based on speed; it is actively reading the metallic stickers (if applied) to calculate spin axis. However, because it relies on radar, you absolutely need at least 8 feet of ball flight from the tee to the net, plus 6 feet behind you, for it to read the strike accurately.
From my hands-on testing, this is the ultimate unit for the mid-handicapper looking to diagnose their slice in a garage environment. What most reviewers overlook is the battery efficiency; the 10-hour lithium-ion battery means you aren’t fighting with extension cords, keeping your space clean. The catch? It struggles slightly with high-spin wedge shots indoors compared to camera-based units, sometimes under-reading spin by 10-15%.
Community feedback generally highlights its unbeatable value in the mid-hundreds price range, noting that the free integration with the Garmin Golf app provides enough simulation to keep winter practice engaging. If you have the required depth in your room, this is your undeniable entry point into serious data tracking.
-
Pros: Incredible battery life, tracks club path metrics, highly portable.
-
Cons: Requires significant room depth, indoor wedge spin can be finicky.
2. Spornia SPG-7 Golf Practice Net
When assessing nets, the Spornia SPG-7 stands out primarily for its patented automatic ball return system and its target sheet sound dampening. The listing mentions a UV-coated mesh, which translates to extreme durability—you can leave this in a sunlit sunroom for years without the fibers degrading and failing upon impact. But the real game-changer is how it handles the kinetic energy of a golf ball traveling at 150+ mph. It catches and softly rolls the ball back to your feet, meaning you only need one golf ball to practice for an hour.
In my experience, the SPG-7 solves the biggest headache of any indoor golf practice setup: setup and teardown friction. Most pop-up nets warp over time or take 15 minutes to assemble. The SPG-7 pops up in about two minutes. I recommend this specifically for players using spare bedrooms or shared spaces where the net cannot remain permanently deployed.
Verified purchasers consistently praise its longevity and quiet impact sound—a crucial factor if you have sleeping children upstairs. Sitting in the mid-$200 to low-$300 range, it costs more than generic Amazon pop-ups, but the reduction in noise and the absolute elimination of balls bouncing violently back at your shins makes it a non-negotiable upgrade.
-
Pros: True automatic ball return, sub-2 minute setup, exceptional noise dampening.
-
Cons: The footprint is relatively wide (7 feet), target sheet requires periodic replacement.
3. Fiberbuilt Flight Deck Golf Mat
Do not ignore your hitting surface. The Fiberbuilt Flight Deck utilizes a proprietary poly-fiber bristle construction rather than traditional woven turf. The manufacturer claims it simulates real fairway grass, but what this actually means biomechanically is that the clubhead can pass through the fibers rather than bouncing off a rigid urethane backing. This eliminates the “turf shock” that travels up the graphite shaft and destroys your lead elbow and wrist over months of daily practice.
I’ve seen dozens of players forced to stop hitting balls in January because they bought a cheap, rigid mat. The Flight Deck is my go-to recommendation for aggressive swingers or anyone with a history of joint pain. What the spec sheet won’t tell you is that because of the bristle design, you simply cannot cheat a “fat” shot. If you hit behind the ball, the club grabs the fibers exactly as it would real turf, killing your ball speed.
Priced in the upper double-digits to low-$100s range, it is an entry-level size (you stand on the floor, not the mat), but the durability is legendary. Community reviews frequently mention returning to this mat after tearing through cheaper alternatives in weeks.
-
Pros: Elite joint protection, accurate penalty for fat strikes, extreme durability.
-
Cons: Small hitting area (requires you to stand on the floor), requires a rubber base for stability.
4. SkyTrak+ Launch Monitor
The SkyTrak+ represents the prosumer leap. By combining dual Doppler radar with photometric (camera) technology, this unit doesn’t have to guess. The camera captures the ball at thousands of frames per second to physically measure spin axis and backspin, while the radar tracks the clubhead. For indoor use, this means you only need enough space to swing your driver—no 8-foot ball flight requirement is necessary because the cameras read the ball the millisecond it leaves the clubface.
If you are a low handicapper (under a 10) who relies on shaping shots, this is your device. In my field tests, the transition from the old SkyTrak to the SkyTrak+ eliminated the frustrating shot-delay that used to plague simulation software. You hit the ball, and it instantly appears on screen. The club data is astonishingly accurate, providing a clear picture of exactly why your clubface was 2° open relative to your path.
While it sits in the premium multi-thousand dollar tier, user feedback confirms it bridges the gap perfectly between entry-level radar and hyper-expensive commercial units like Trackman. For dedicated garage builds where precision is paramount, this is the gold standard.
-
Pros: Requires minimal space, tour-level spin accuracy, instant shot-to-screen delay.
-
Cons: Premium price point, requires yearly subscription for full simulation software.
5. Perfect Practice Putting Mat
Rounding out your space means not forgetting the flatstick. The Perfect Practice Putting Mat features a Crystal Velvet surface with integrated train-track alignment lines. The manufacturer lists it rolling between 10-14 on the stimpmeter. In practical terms, this means it perfectly mimics the fast, true roll of premium country club greens, rather than the sluggish, bumpy feel of standard carpet.
What surprised me most during use was the slight uphill elevation to the hole. This isn’t a design flaw; it is a brilliant psychological training tool. It forces you to hit putts 18 inches past the hole—the mathematically optimal speed for capturing the hole’s entire diameter. I recommend this for players who constantly leave putts short on the course.
Hovering around the mid-$100s range, buyers love the aesthetic and the wooden auto-return track, which prevents you from breaking your posture between reps. It is a vital component that transforms a simple driving net into a comprehensive short-game laboratory.
-
Pros: True fast roll, alignment aids fix eye position, automatic return track.
-
Cons: Vacuuming can temporarily disrupt the velvet grain, takes a few days to flatten perfectly out of the box.
🔍 Ready to Upgrade Your Golf Setup?
Creating a dedicated practice space is the most effective way to groove your swing mechanics and maintain your feel during the off-season. Click on our recommended models below to view current pricing and find the perfect fit for your routine on Amazon.
Transformation: The First 30 Days with Your Setup (Usage Guide)
Buying the equipment is only step one; integrating it into a routine that actively improves your swing is where most golfers fail. Your first 30 days are critical for establishing a baseline without ingraining terrible indoor habits.
Week 1: Calibration and Space Optimization
Don’t just plug in your launch monitor and start ripping drivers. Spend the first week calibrating your space. If you are using a radar unit, ensure there are no spinning fans, fluorescent lights, or concrete walls directly in the radar’s line of sight, as these cause severe interference. Measure your ceiling height—you need an absolute minimum of 9 feet for a comfortable driver swing, but 10 feet is ideal. Tape a line on your mat to ensure your alignment is perfectly parallel to the net and the monitor.
Week 2: The “Wedge-Only” Phase
One of the biggest mistakes in any indoor golf practice setup is immediately swinging out of your shoes. This leads to “Indoor Swing Syndrome”—a hesitant, restricted motion caused by a subconscious fear of hitting the ceiling. Spend week two hitting only pitching wedges and 8-irons. Focus entirely on the path and face metrics, ignoring distance. Get comfortable releasing the club fully indoors.
Week 3 & 4: Bridging the Distance Gap
Once comfortable, start recording your data. Launch monitors indoors often report slightly shorter carry distances due to a lack of aerodynamic lift (since you are hitting into a net). Document your 7-iron carry. Read up on the USGA’s studies on golf ball aerodynamics to understand how spin affects flight. Use this time to dial in your carry yardages, creating a spreadsheet that will become your bible once the spring season opens.
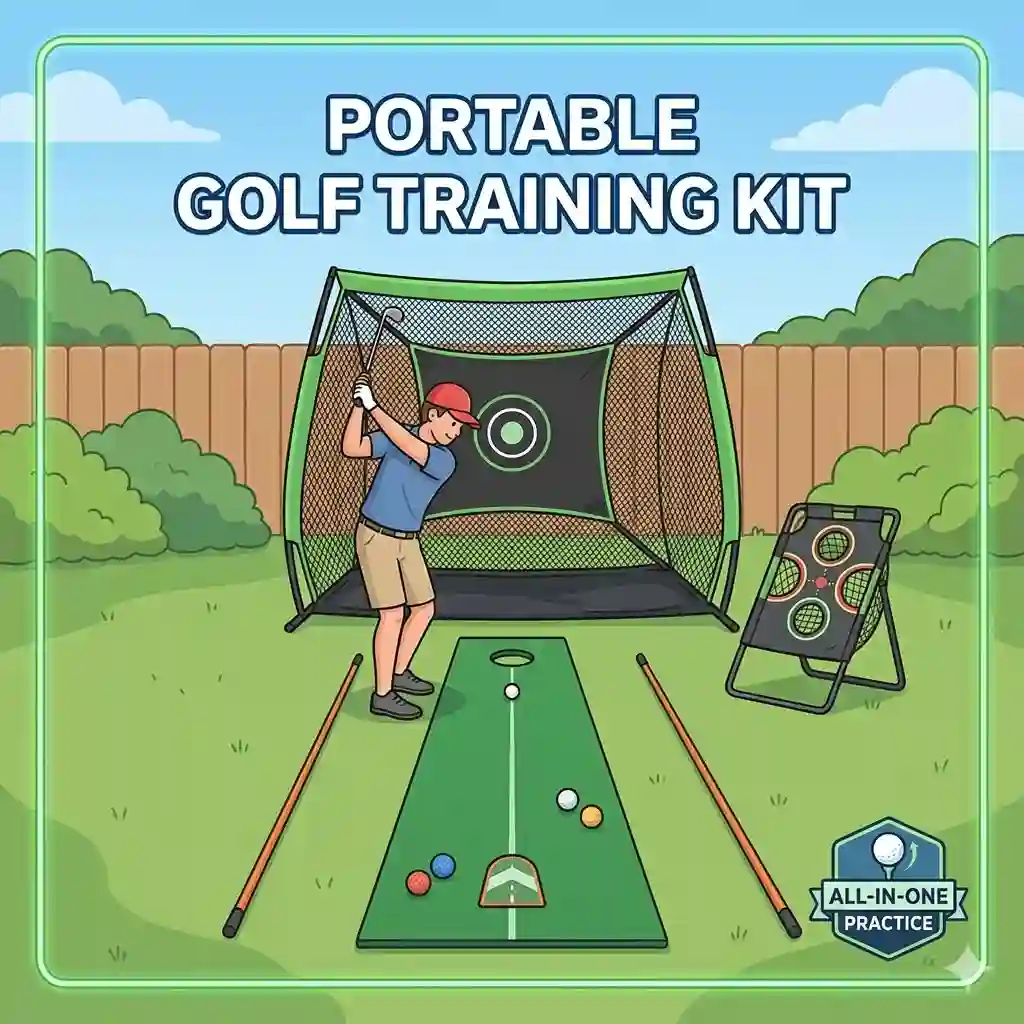
Transformation: Real-World Scenarios & Space Constraints (Case Study)
Not all spaces are created equal. How you configure your gear depends entirely on the architecture of your home. Let’s look at two common profiles and how to build around them.
Profile A: The Suburban Two-Car Garage
-
The User: A 40-something weekend warrior looking to practice after the kids go to bed.
-
The Challenge: Concrete floors, cold temperatures, and the need to park cars there during the day.
-
The Solution: You cannot use a permanent enclosure. The Spornia SPG-7 is perfect here because it collapses. The concrete floor is dangerous for joint health, so the Fiberbuilt Flight Deck is absolutely mandatory to absorb shock. Because depth is usually not an issue in a standard garage (which is roughly 20 feet deep), a radar-based monitor like the Garmin Approach R10 is the most cost-effective solution.
Profile B: The Spare Bedroom / Office
-
The User: A dedicated amateur with a 12×15 foot room to spare.
-
The Challenge: Severe space constraints, low 9-foot ceilings, and proximity to fragile drywall.
-
The Solution: Radar will fail here—there isn’t enough ball flight before the net. You must transition to a camera-based system like the SkyTrak+. Because you are swinging closer to the walls, you need side-barrier netting to catch shanks. In this scenario, drivers might be off the table due to ceiling height, making this a dedicated iron and wedge matrix room.

How to Choose the Right Components for Your Space
Building a proper setup isn’t about buying the most expensive gear; it’s about matching the technology to your environment.
-
Measure Your Wingspan, Not Just Your Height: Ceiling height is the most common limiting factor. Don’t just measure from the floor to the ceiling. Hold your longest club (the driver), take your stance, and have someone measure from the toe of the club at the top of your backswing to the floor. Most players need 9 to 10 feet of clearance. If you have 8.5 feet, you are strictly building an iron-practice setup.
-
Understand Lighting Requirements: If you opt for a photometric (camera) system, the software needs to “see” the ball clearly. High-flicker LED shop lights or fluorescent tubes can confuse the cameras, resulting in misreads. Conversely, radar systems don’t care about lighting but will be thrown off by metallic objects moving in the background, like a washing machine.
-
Evaluate Floor Density: Wood subfloors in a bedroom have “give.” Concrete garage floors do not. If you are building over concrete, you must invest in high-density foam gym tiles to place under your hitting mat to mitigate the shock transfer to your joints.
Common Mistakes When Buying Simulator Gear
In my consulting work, I see the same three expensive mistakes repeated constantly.
First is The Projector Fallacy. Many beginners assume they need a 4K projector and a massive impact screen on day one. They spend their entire budget on visuals, leaving them with a cheap monitor that feeds inaccurate data to their beautiful screen. Start with a net and an iPad on a stand. Perfect your data collection first; upgrade to an impact screen in year two.
Second is Ignoring Spin Axis vs. Spin Rate. Cheaper monitors measure total backspin but guess the spin axis (the tilt of the ball that causes a slice or hook) based on club path. If you are a player who hits straight pulls or pushes, a monitor that guesses spin axis will lie to you, showing a straight shot on the screen while you actually hit a fade. You must understand how your monitor calculates shape. For a deep dive into how ball flight actually works, review the physics outlines provided by resources like Wikipedia’s article on the Magnus Effect.
Lastly, Using Old, Scuffed Golf Balls. Hitting worn-out golf balls into a high-end impact screen will act like sandpaper, tearing through a $500 screen in a matter of weeks. Always use brand new, premium balls in your indoor golf practice setup to preserve your netting and screen materials.
Radar vs. Photometric Launch Monitors: What Actually Matters
The entire indoor golf industry is divided by these two technologies.
Radar-based monitors sit behind the golfer and use Doppler technology to track the club head moving into the ball and the ball flying away. Because it needs to observe the flight to calculate spin, it needs space—usually 8 feet of flight and 6-8 feet of space behind the ball. The benefit? They are incredibly accurate for clubhead speed and path, and they are generally cheaper to manufacture.
Photometric monitors sit directly next to the golf ball (facing the golfer). They use high-speed cameras to take rapid-fire photos of the ball at impact. By looking at how the dimples move between frame 1 and frame 2, the onboard computer instantly knows the ball’s speed, launch angle, and exact spin axis.
What the spec sheet won’t tell you is the “Lefty/Righty” dilemma. If you have both left-handed and right-handed golfers playing in your simulator, a radar unit (which sits behind the ball) accommodates both effortlessly. A photometric unit, however, must be physically picked up, moved to the other side of the mat, and re-aligned every time the other player hits. If you host neighborhood simulator parties, radar is vastly superior for the pace of play.
Long-Term Cost & Maintenance of Your Simulator Space
Amazon listings rarely mention the Total Cost of Ownership (TCO) for these setups. When you buy into this ecosystem, the hardware is often just the down payment.
Software Subscriptions:
Almost every launch monitor requires a basic app to see your numbers, but if you want to play virtual courses (like Pebble Beach or St. Andrews), you need third-party software like GSPro, E6 Connect, or TGC 2019. These software packages often require annual subscriptions ranging from $100 to $300 a year, plus the cost of a gaming PC to run the graphics.
Mat Degradation:
Your hitting mat is a consumable item. Even premium mats will develop a trench after 10,000 swings. Plan to rotate your mat 90 degrees every three months to ensure even wear, and budget for a replacement hitting strip every 12 to 18 months.
Net Tension Loss:
Nets stretch. A net that safely stopped your driver in January might have stretched enough by December to allow the ball to push through and dent the drywall behind it. Always leave at least 18 inches of buffer space between the back of your net and a solid wall, and inspect the main impact zone for fraying every 500 shots.
Conclusion
Building an effective indoor golf practice setup is an investment that improves your game year-round. Focus on the three essentials: accurate data, a quality hitting mat, and a durable impact screen or net. Tailor your setup to your available space, choosing launch monitor technology based on room size rather than budget alone. Prioritize the fundamentals before upgrading to larger accessories, and let reliable data drive your progress.
FAQs
❓ What is the minimum ceiling height for an indoor golf practice setup?
✅ You generally need a minimum of 9 feet (108 inches) for most players to comfortably swing a driver without altering their mechanics. Players over 6’2″ may require 10 feet. Anything under 9 feet is strictly limited to iron and wedge practice…
❓ Can you use real golf balls with an indoor net?
✅ Yes, high-quality indoor nets are designed to withstand real golf balls traveling over 150 mph. However, always use clean, unscuffed golf balls, as dirt and scratches will act like sandpaper and tear the netting over time…
❓ Do launch monitors work without a subscription?
✅ Most modern launch monitors provide basic driving range data and numerical outputs for free out of the box. However, playing simulated 18-hole courses usually requires a paid annual subscription to third-party software like E6 Connect or GSPro…
❓ Is radar or camera better for indoor golf?
✅ Camera-based (photometric) systems are generally better for indoors because they require less space (no minimum ball flight required) and aren’t affected by concrete walls or spinning fans. Radar systems are excellent but require up to 16 feet of total room depth…
❓ Can hitting off an indoor mat hurt your joints?
✅ Yes, hitting off a thin, cheap mat placed directly on concrete can cause severe elbow and wrist injuries (turf shock). Always invest in a high-density, injury-preventative mat like a fiber-bristle design to allow the club to move through the surface safely…
Recommended for You
- 5 Insane 2026 Golf Speed Training System Picks (Tested & Ranked!)
- 5 Proven Systems: The Ultimate golf swing speed trainer Guide (2026)
- 5 Best Golf Training Aids for Winter (2026 Expert Review)
Disclaimer: This article contains affiliate links. As an Amazon Associate, I earn from qualifying purchases. If you purchase products through these links, we may earn a small commission at no additional cost to you.
✨ Found this helpful? Share it with your friends! 💬🤗